
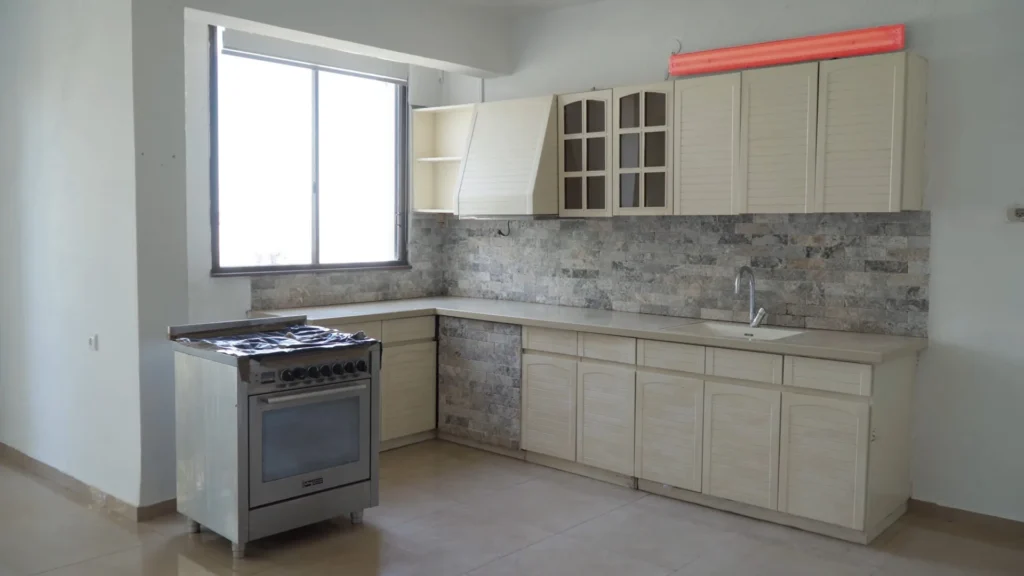
Moving into a rental often means accepting a space that’s far from perfect — but sometimes that makes a DIY project even more exciting. With full permission from the landlord to “change anything you want,” this kitchen makeover turned a neglected, awkward space into a bright, functional, Pinterest-inspired corner. If you’re looking for a DIY project to refresh your rental kitchen on a budget, this guide walks you through the entire process step-by-step.
Materials & Tools You’ll Need
- Paint (white and chosen wall color)
- Paint stripper
- Primer
- Finish putty / joint compound
- Sandpaper or electric sander
- Spatulas, small screwdrivers
- Paint roller and brushes
- Wood-effect adhesive film (for countertop)
- Spray paint for hardware
- Screws, shelf brackets
- Silicone, filler foam
- Cleaning supplies
- Artificial plants, décor items
- Protective gloves and ideally a respirator
Step-by-Step DIY Kitchen Makeover
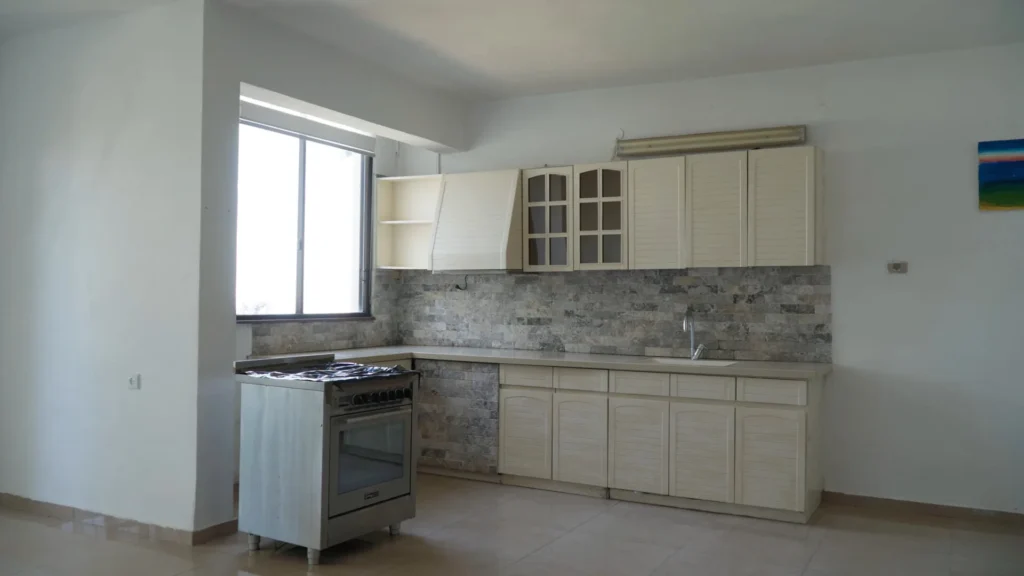
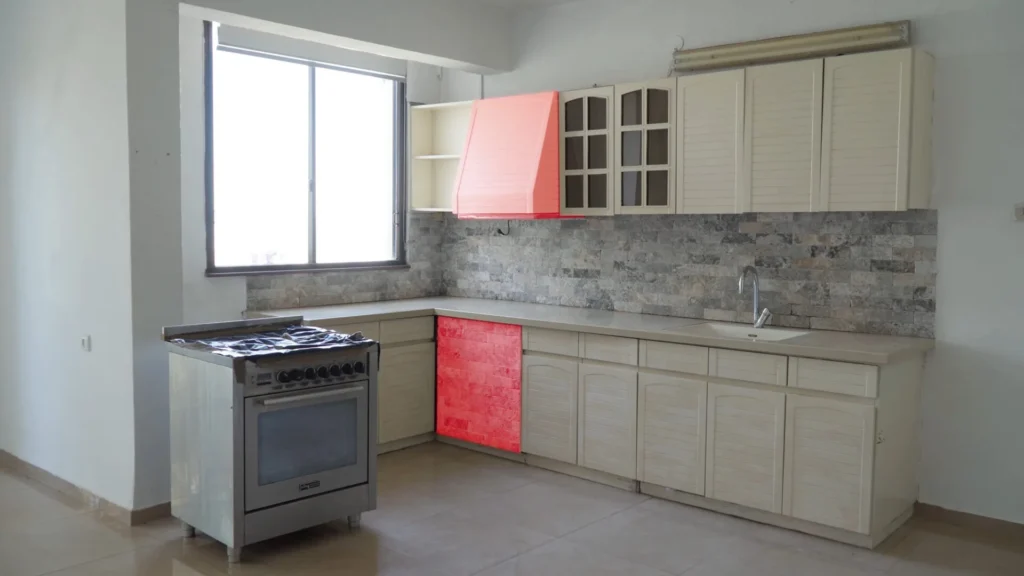
Step 1 — Opening Up the Hidden Niche
The project began with a strange wooden plug covering an empty wall cavity — a completely wasted space. After removing the panel and cleaning out dust, it became clear this area had potential. Although a gas line was present, installing the stove here would require cutting the countertop, so the plan shifted toward turning the niche into a decorative zone.
Step 2 — Removing Old Upper Cabinets
The existing cabinets were barely attached and the range hood barely worked. Since the stove would be moved elsewhere, the hood wasn’t needed anymore. After taking everything down, the wall behind revealed damaged areas that needed cleaning, patching, and prepping.
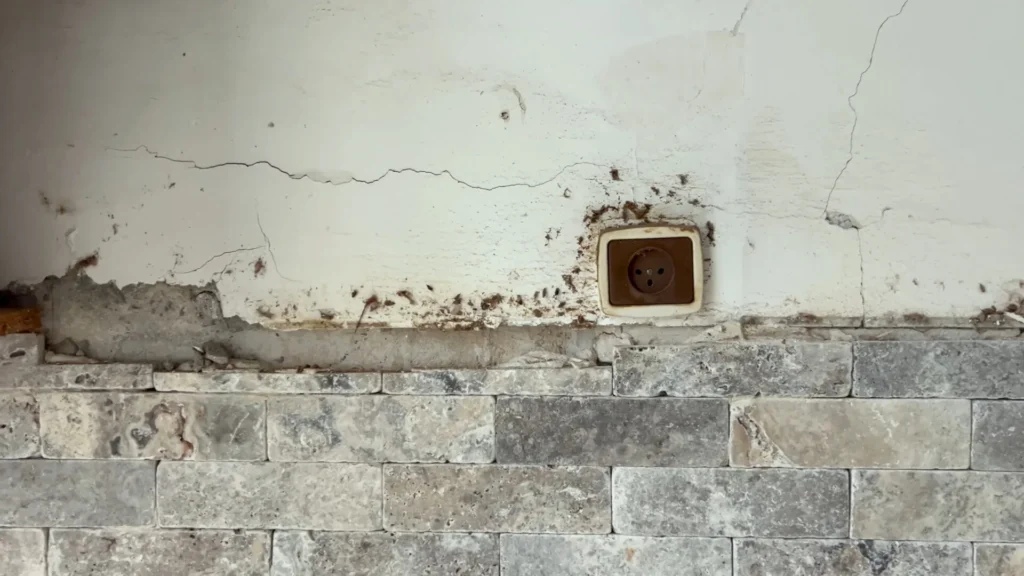
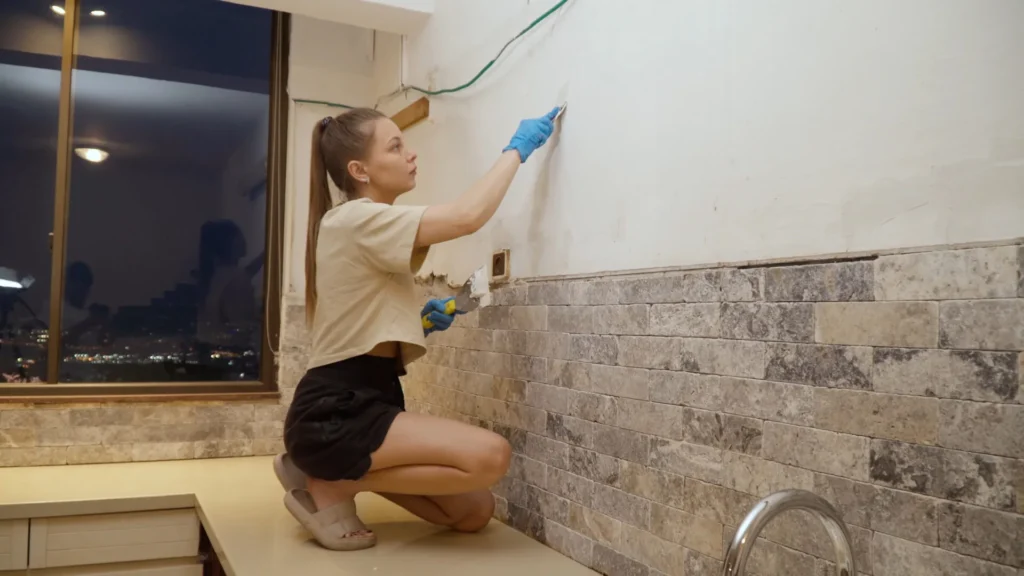
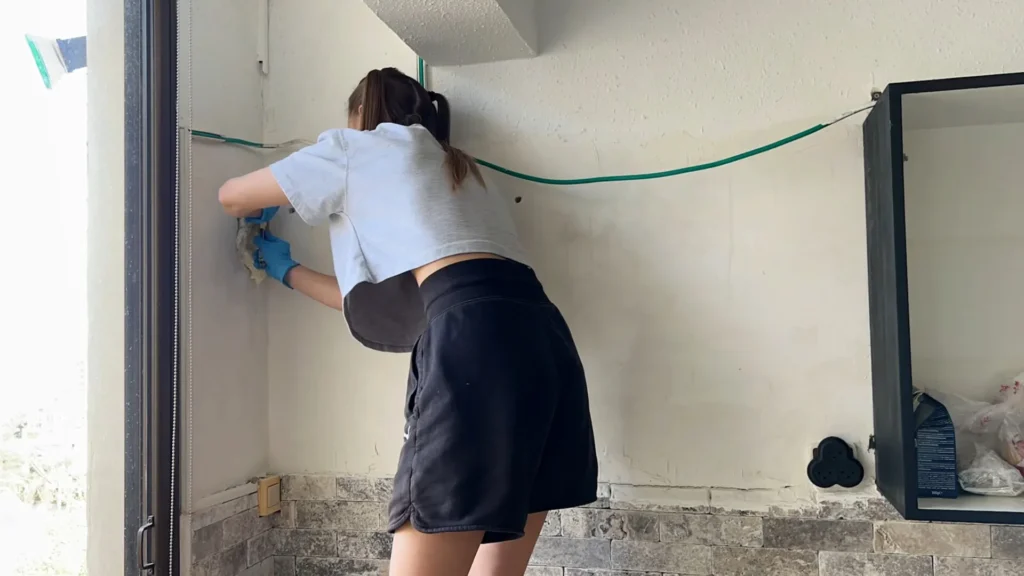
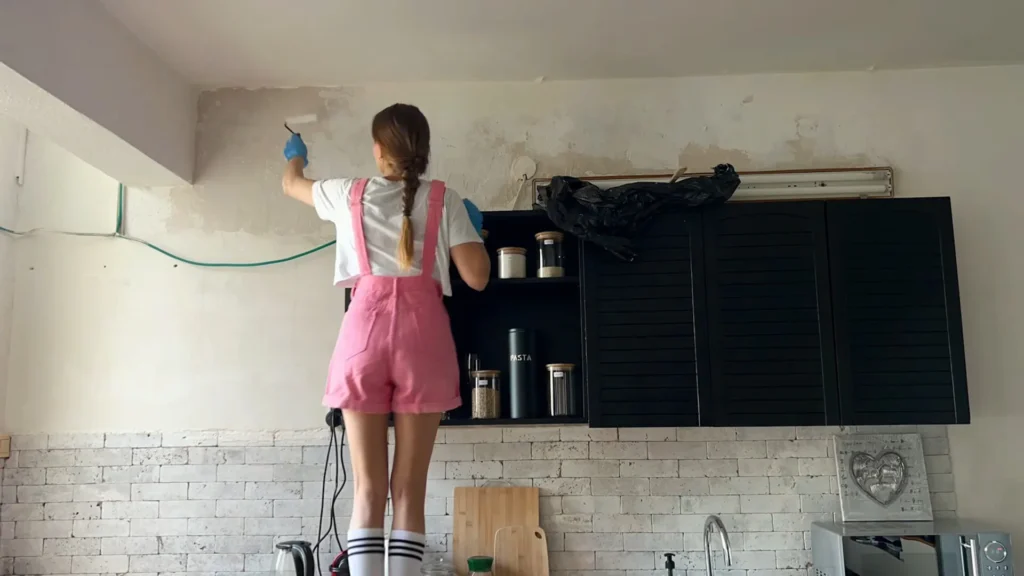
Step 3 — Cleaning, Patching & Restoring the Wall
The wall behind the cabinets was in rough shape. After washing, the damaged spots were filled with putty. Missing tiles were replaced, and the faux-brick backsplash was lightly repaired and prepared for painting. Because the beige color looked outdated, the plan was to repaint the entire area white for a fresh, clean look.
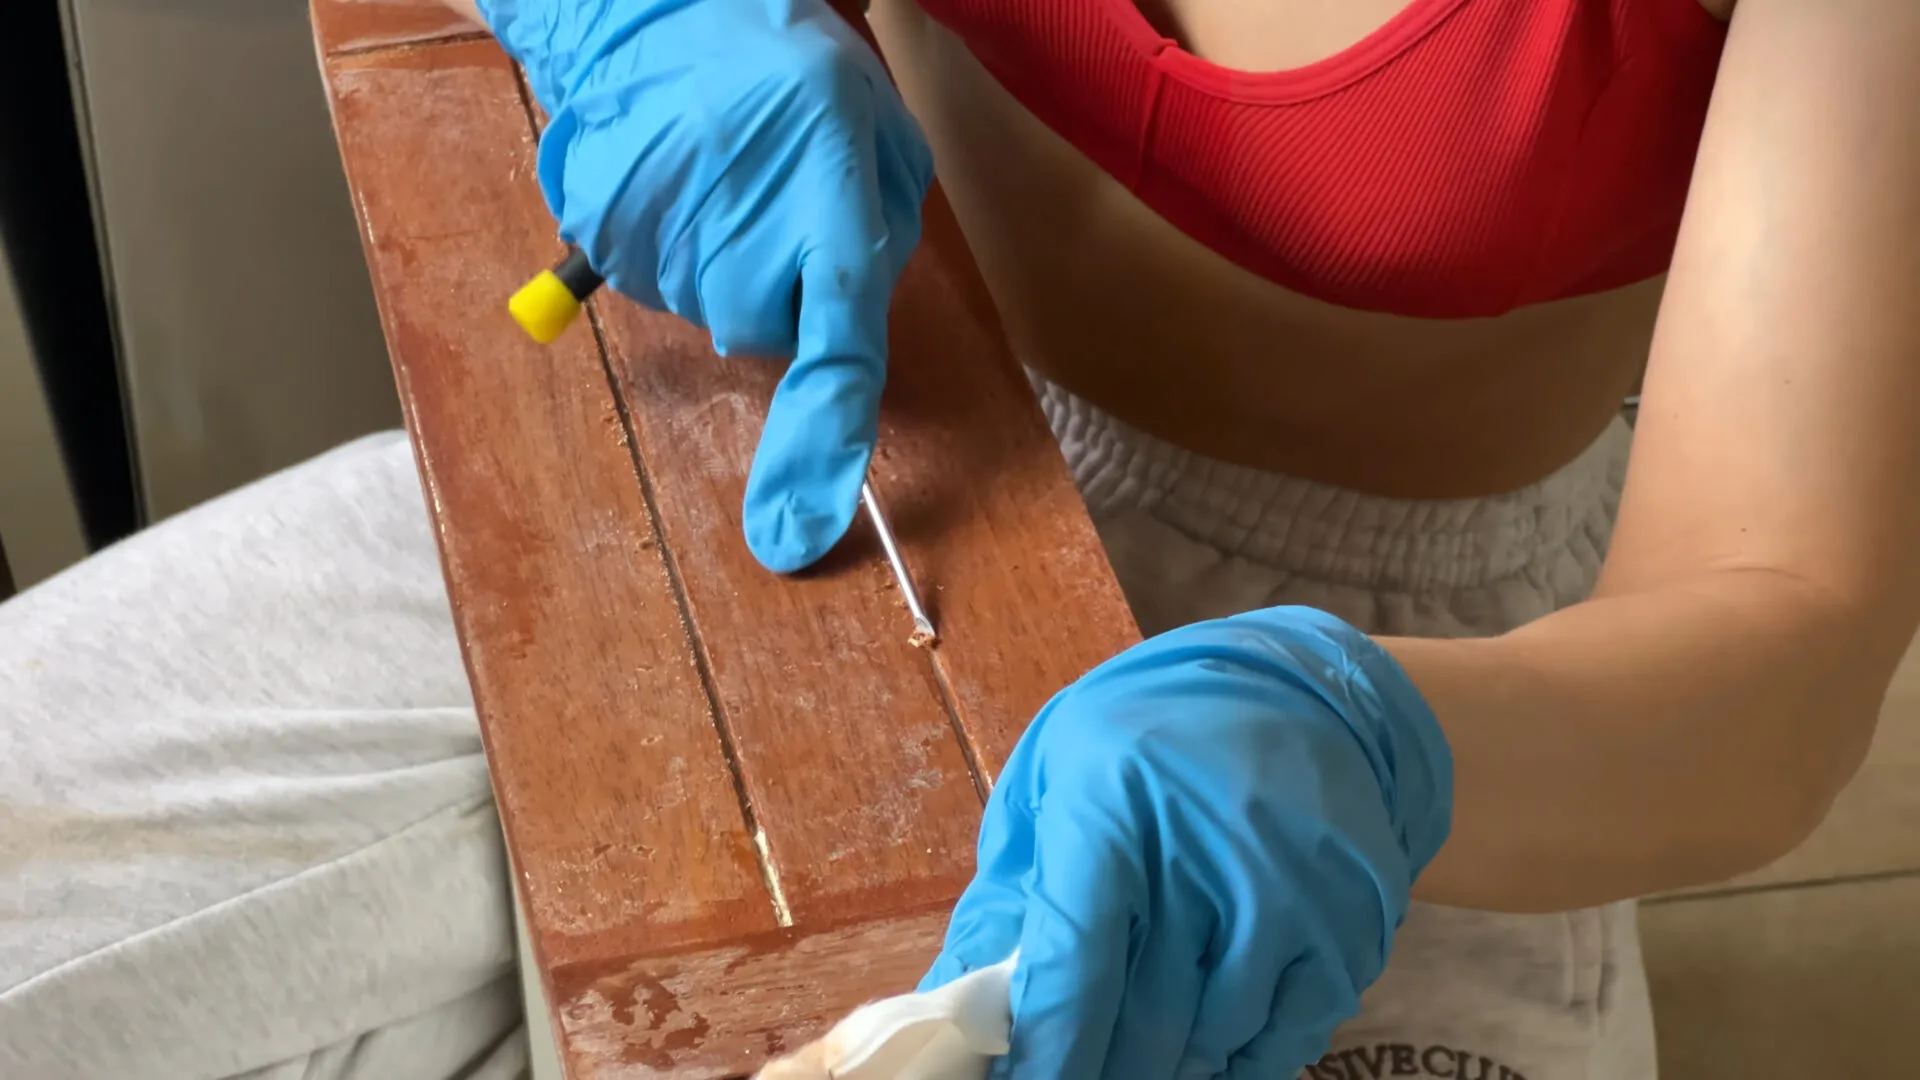
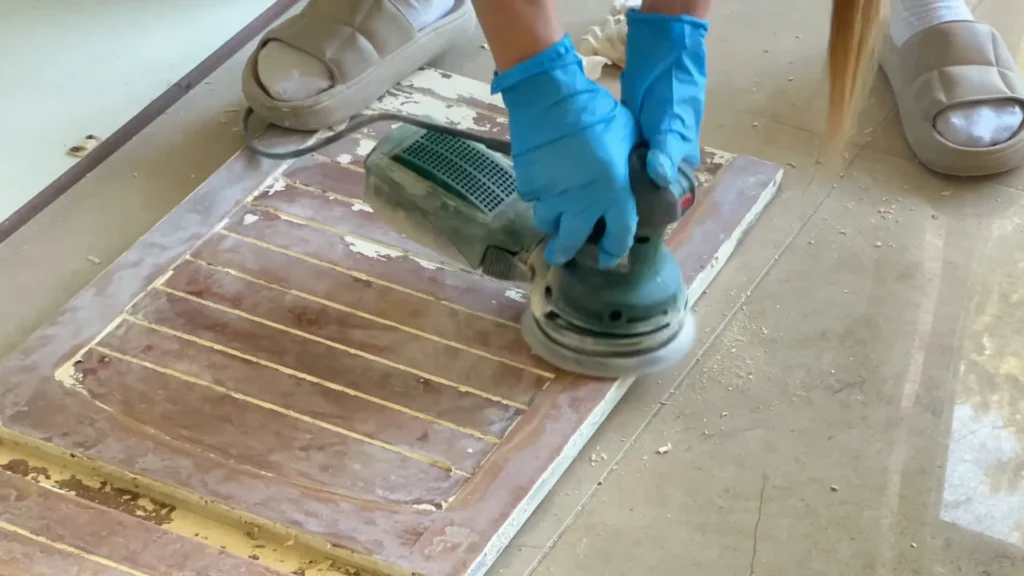
Step 4 — Stripping Thick Paint from Cabinet Doors
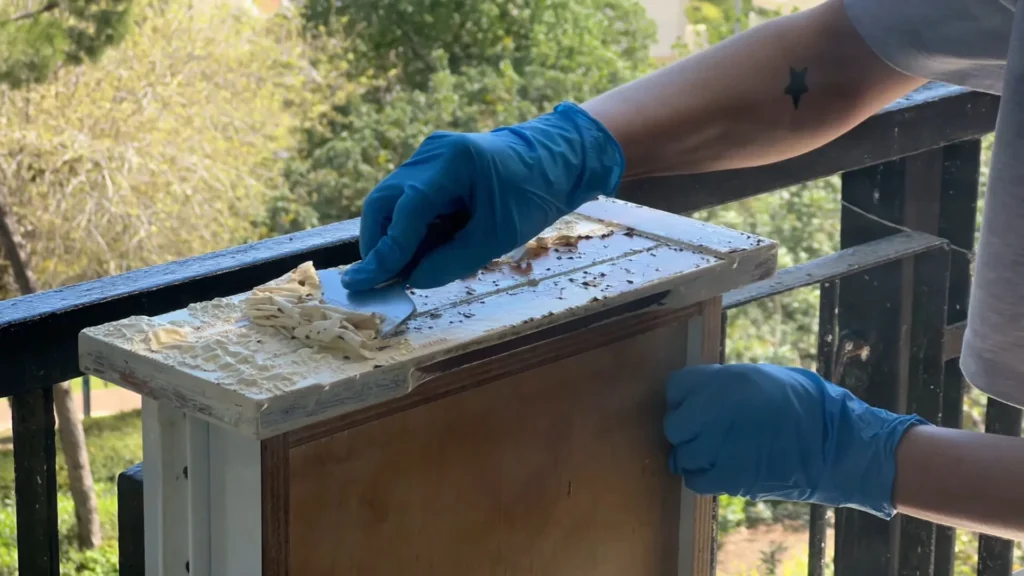
The cabinet doors had so many layers of paint that the wood grain was completely lost. Using paint stripper, each door was coated evenly. Safety tip: use gloves and ideally a mask when working with strong chemicals.
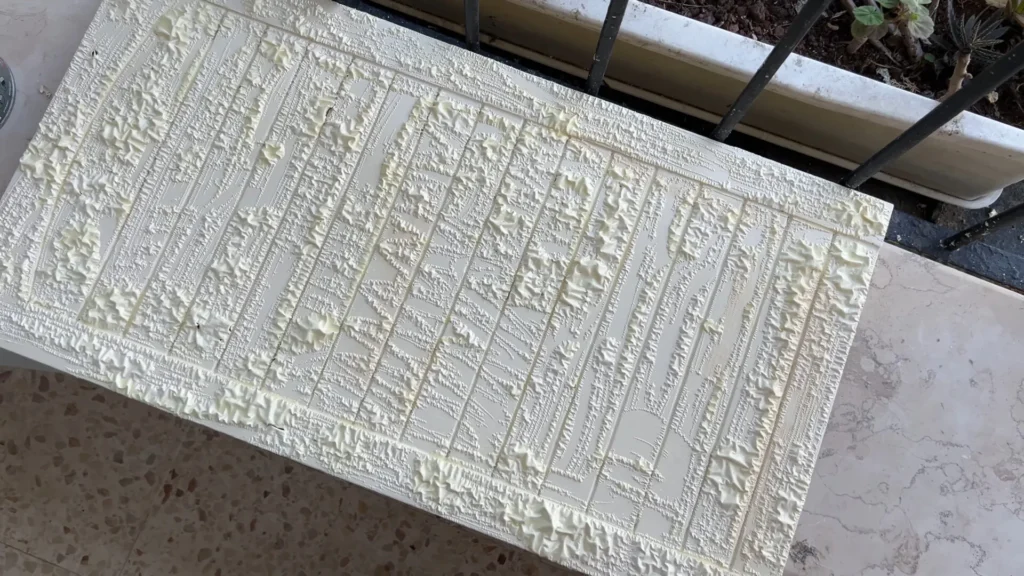
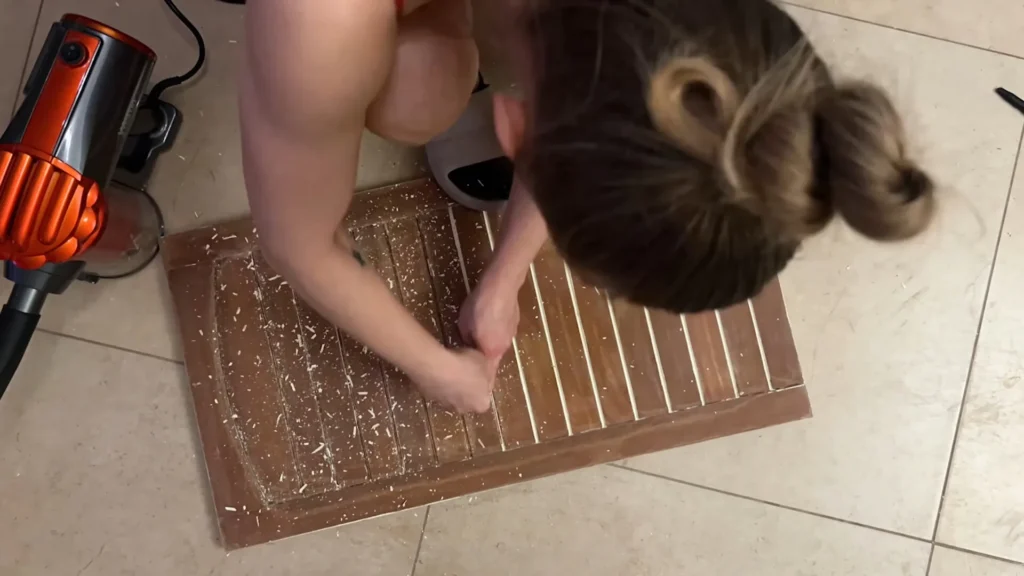
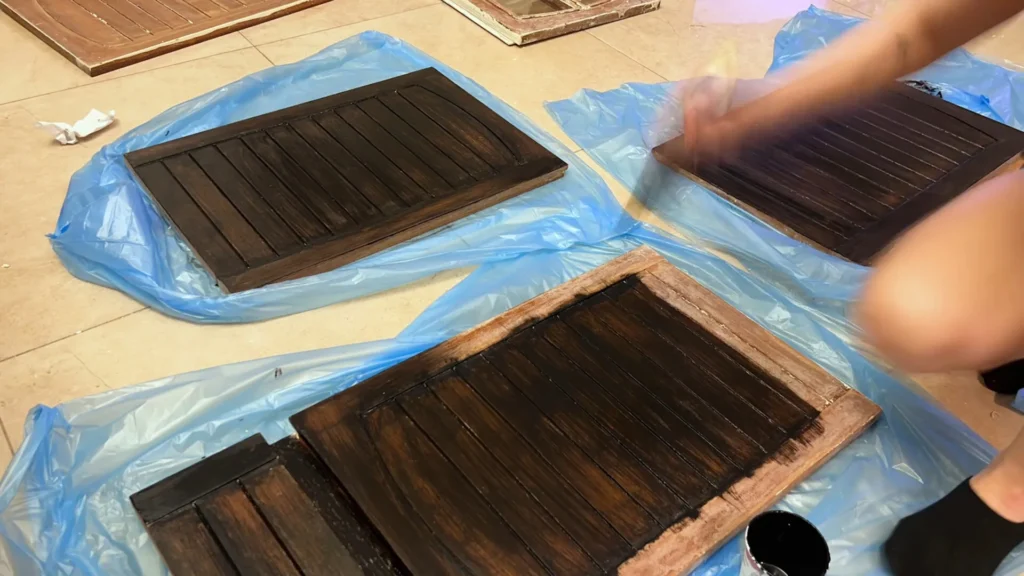
Once the paint bubbled (think “The Last of Us” surface texture), a spatula removed most of it. Tight crevices were cleaned with a thin screwdriver, and a sander finished the job. Each door was then painted black in three even coats.
Step 5 — Sealing the Old Vent Hole
Removing the hood left a large hole in the wall. To keep it reversible (just in case), the opening was filled with foam, then sanded, puttied, and painted. Once done, this spot blended seamlessly with the new open-shelf design.
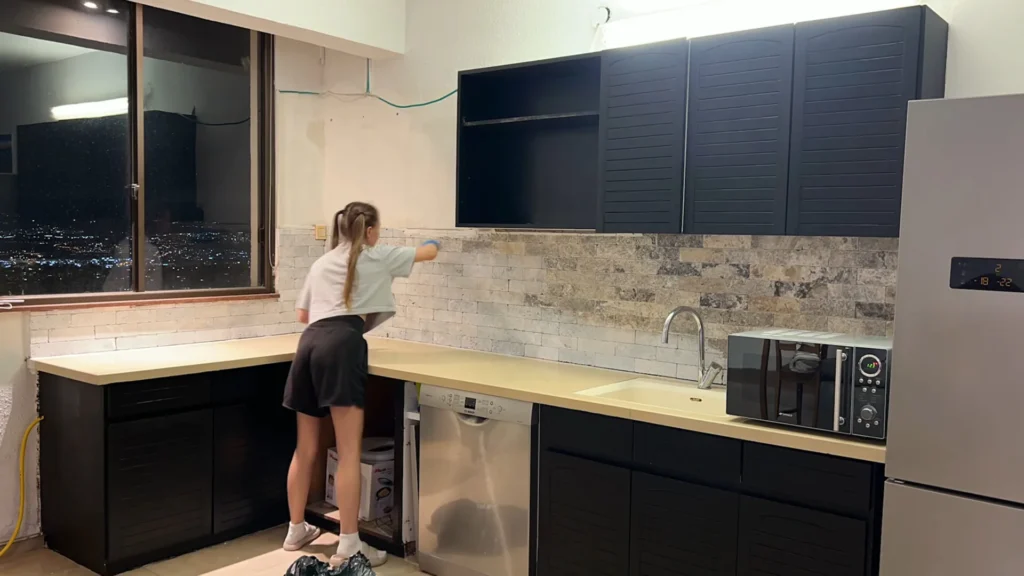
Step 6 — Painting Shelves and Hardware
Shelf brackets were refreshed with spray paint, then the wall and shelves were painted using a roller. A small closed cabinet was washed and painted white to match the new airy style. The brick backsplash received a single coat of white paint to keep its texture visible.
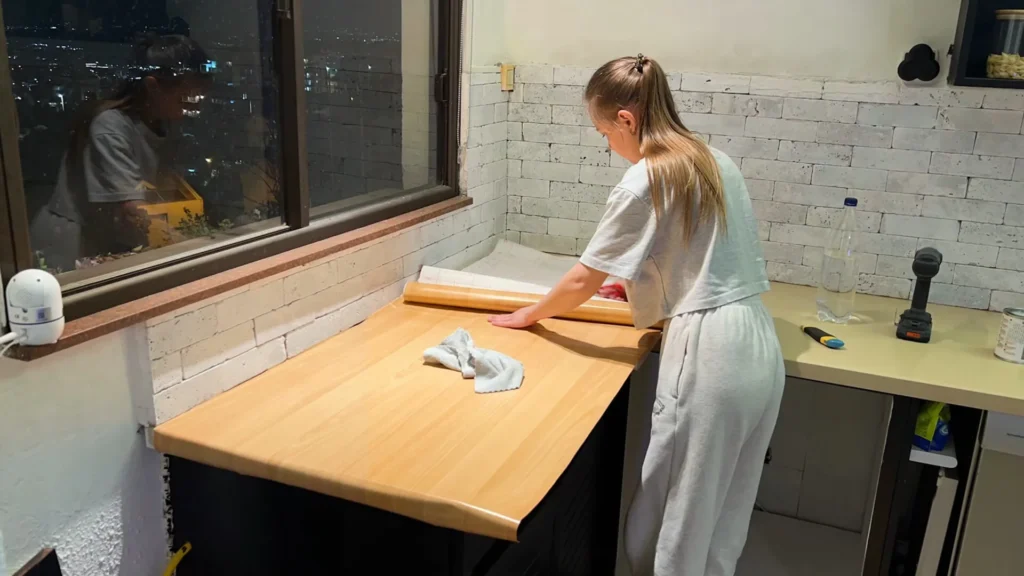
Step 7 — Updating the Countertop on a Budget
A real wood countertop would be perfect — but for a low-cost DIY project, wood-effect adhesive film worked surprisingly well. The key is thoroughly degreasing the surface and applying the film slowly to avoid bubbles.
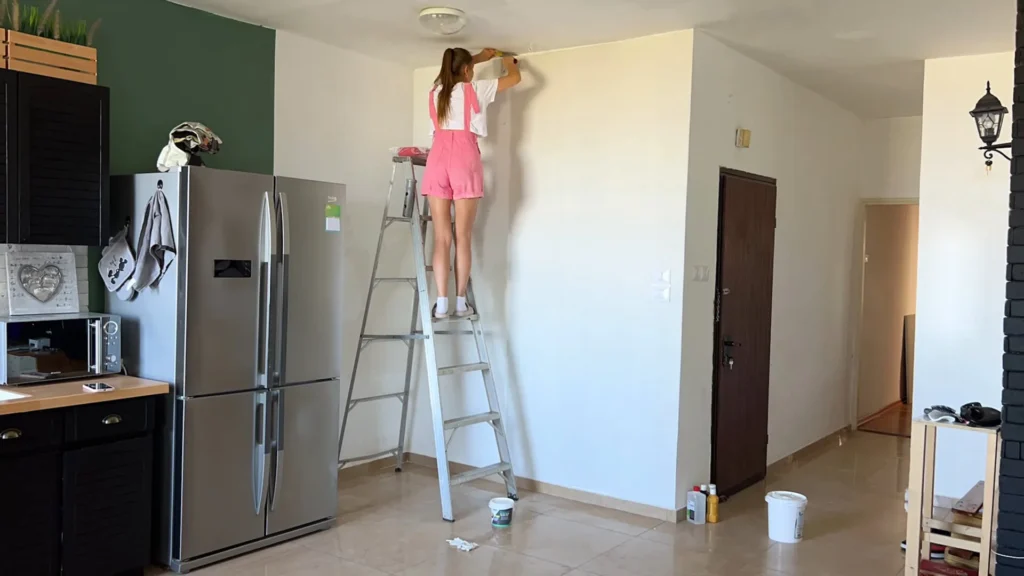
Step 8 — Smoothing the Textured Upper Wall
Above the cabinets, a bumpy textured plaster created an uneven look. Sanding would make too much dust, so two layers of putty were applied instead. The first type didn’t work and peeled with the paint — the second, a finishing putty, dried smooth and solid.
The first selected paint shade looked great in the store but turned into a “building stairwell shade” under home lighting. Using a T-shirt as color reference (yes, really), a new custom tone was mixed — a warm honey-beige ideal for a modern kitchen.
Step 9 — Hiding an Old Ceiling Light
The existing ceiling lamp was unattractive, but removing it wasn’t an option. Instead, a decorative cover was made from cut wooden crates, floral foam, artificial plants, and dried wheat collected during a walk. A quick spray of hair spray sealed the natural elements.

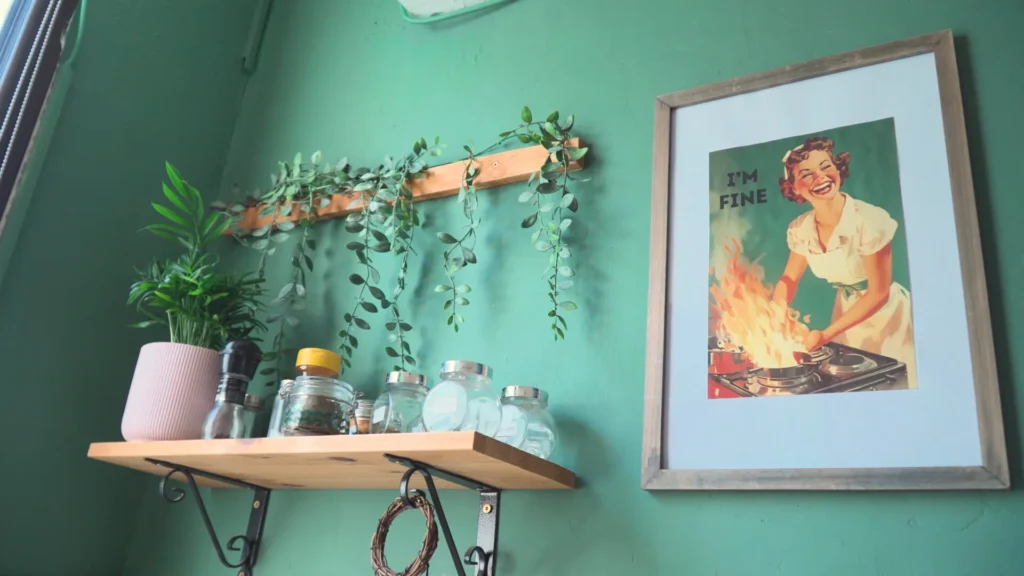
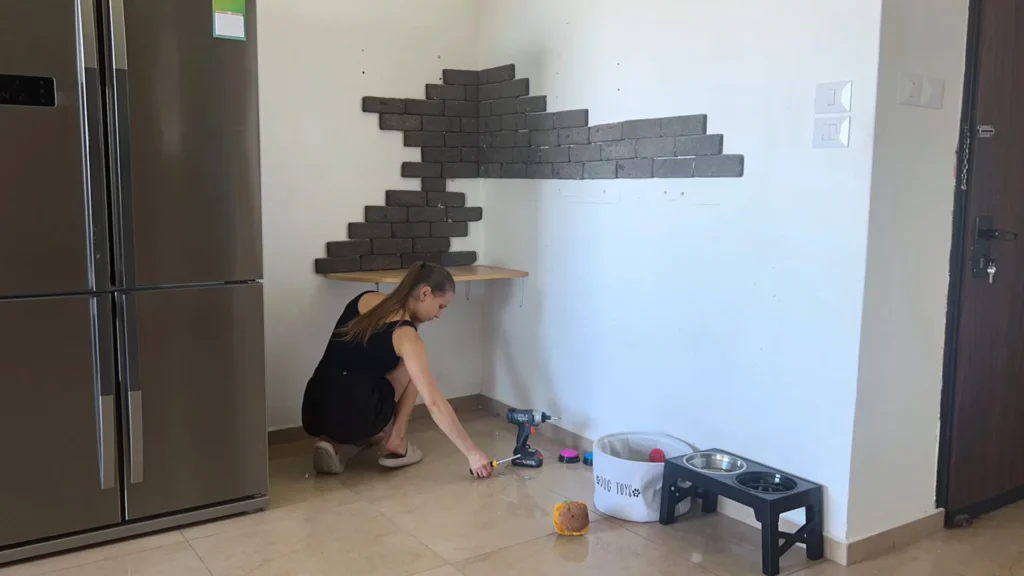
Step 10 — Finishing the Niche with Decor
A shelf was installed, a new stove delivered, and the niche was decorated with artificial greenery and framed art to balance the space visually. This turned a useless gap into a cozy focal point.
Step 11 — Refreshing the Last Corner
The final corner featured old faux brick and a tired armchair. The chair cover and pillow went to the wash, the base was repainted, and the wall behind was stripped, patched, and painted in the same custom honey-beige. Masking tape ensured crisp lines between contrasting colors.
Tips & Warnings
- Always protect yourself when using chemical strippers — gloves and a respirator are highly recommended.
- Test paint colors at home, not just in-store. Lighting changes everything.
- Don’t fear budget solutions like adhesive film — they can look great with careful application.
- Take your time with patching — finishing putty gives a much cleaner result on visible walls.
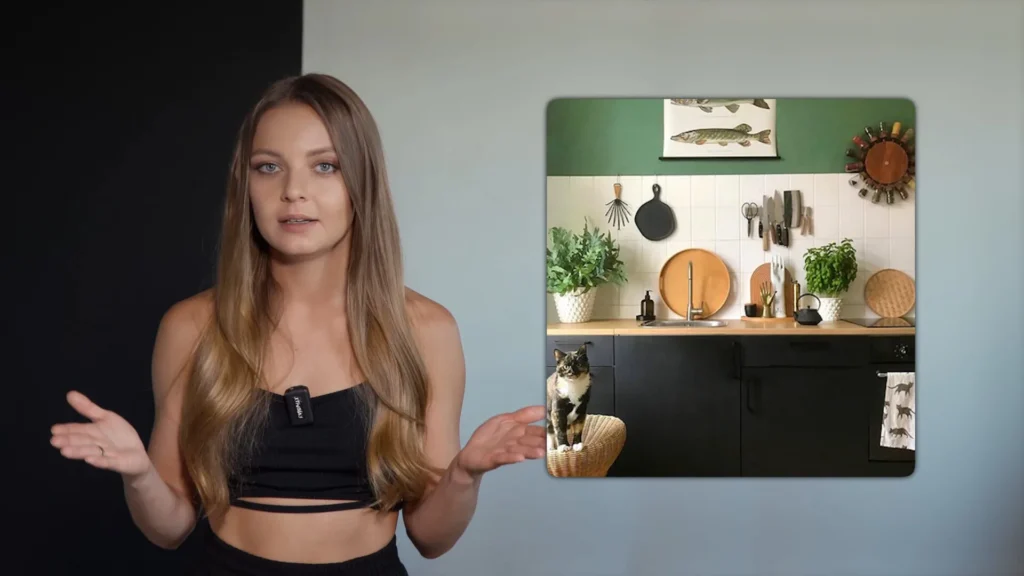
- Use inspiration boards (Pinterest-style kitchens) but adapt them to your space and budget.
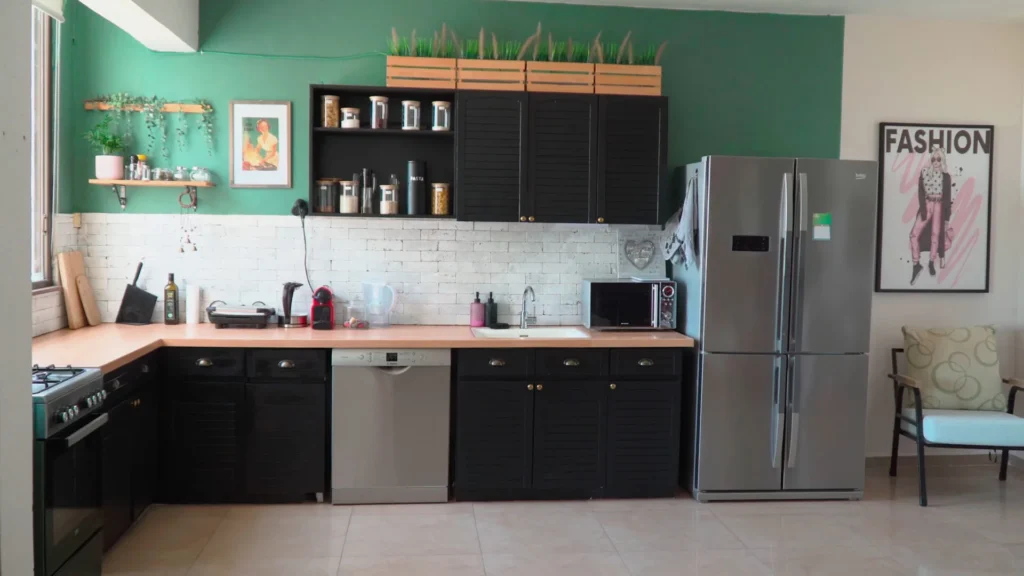
Conclusion
This rental kitchen makeover proves that you can completely transform a space — even a worn-out one — with creativity, patience, and a bit of DIY energy. Whether you’re updating a niche, repainting cabinets, or creating a fresh backsplash, every step helps build a kitchen that feels like home.
If you’re planning your own DIY kitchen makeover, don’t hesitate to try unconventional solutions and personalize your space. A rental doesn’t have to feel temporary — with a few tools and a vision, you can make it truly yours.